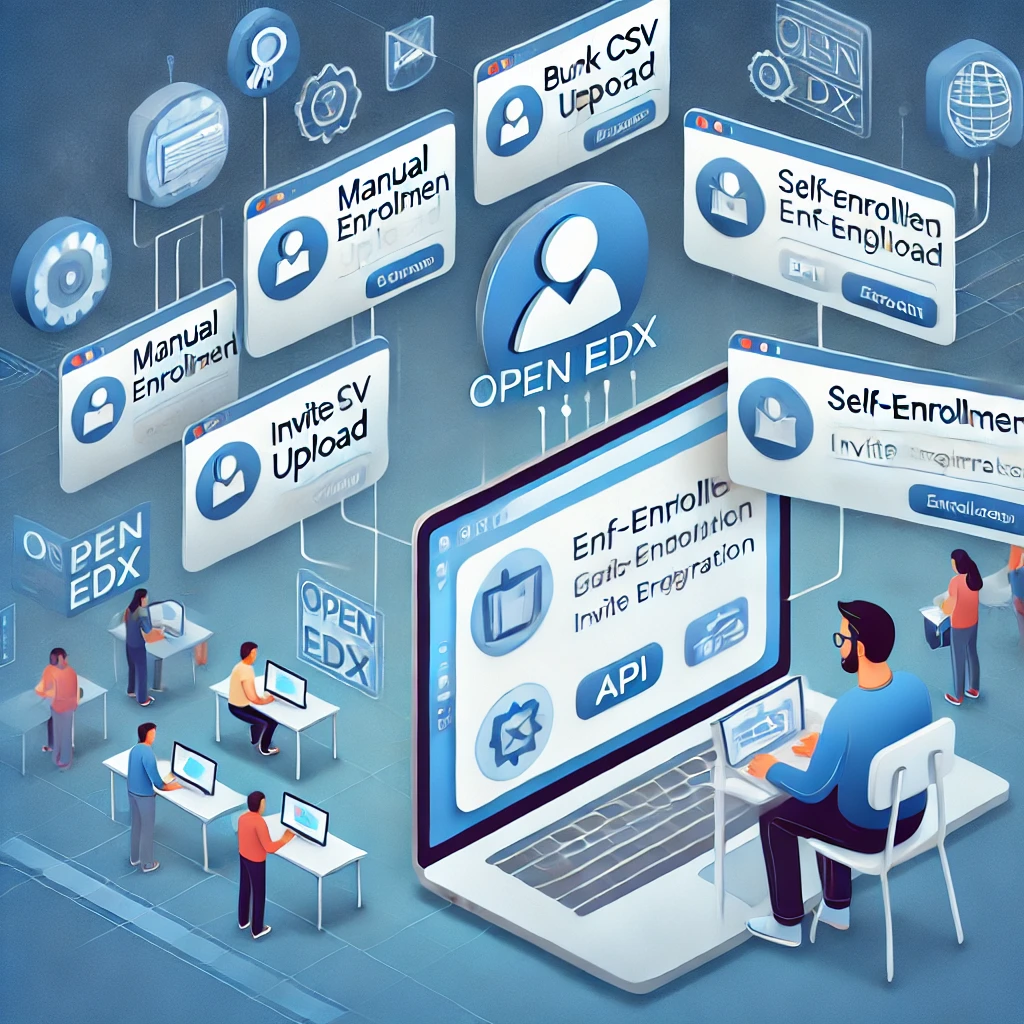
How to enroll learners in Open edX courses?
Enrolling learners in Open edX courses can be done in several ways, depending on your setup and requirements. Below are the primary methods for enrolling learners in Open edX courses, along with step-by-step instructions for each.

1. Self-Enrollment (Open Registration)
This is the most common method, where learners can enroll themselves in a course.
Steps:
- Enable Self-Enrollment:
- In Open edX Studio, go to the Settings tab of your course.
- Under Course Schedule and Details, ensure the course is set to Public or Private (with enrollment).
- Set the Enrollment Start Date and Enrollment End Date (if applicable).
- Share the Course URL:
- Provide learners with the course URL (e.g.,
https://<your-domain>/courses/<course-id>). - Learners can visit the URL and click Enroll to join the course.
- Payment Integration (Optional):
- If your course is paid, integrate a payment gateway (e.g., PayPal, Stripe) to handle enrollments.
2. Manual Enrollment (Admin or Instructor)
Instructors or administrators can manually enroll learners in a course.
Steps:
- Access the Instructor Dashboard:
- Log in to the LMS (
https://<your-domain>:8000). - Navigate to your course and click Instructor in the top menu.
- Enroll Learners:
- Go to the Membership tab.
- Enter the email addresses or usernames of the learners you want to enroll.
- Click Enroll.
- Bulk Enrollment:
- Use the Data Download tab to download a CSV template.
- Fill in the template with learner details (email, username, etc.).
- Upload the CSV file to enroll multiple learners at once.
3. Bulk Enrollment via CSV
For large-scale enrollments, you can use a CSV file to enroll learners in bulk.
Steps:
- Prepare the CSV File:
- Create a CSV file with the following columns:
email(required): The learner’s email address.username(optional): The learner’s username.name(optional): The learner’s full name.mode(optional): The enrollment mode (e.g.,audit,verified).
- Example:
email,username,name,mode learner1@example.com,learner1,John Doe,audit learner2@example.com,learner2,Jane Smith,verified
- Upload the CSV File:
- Go to the Instructor Dashboard in the LMS.
- Navigate to the Data Download tab.
- Upload the CSV file under the Enrollment section.
4. Automated Enrollment via API
For advanced use cases, you can use the Open edX Enrollment API to programmatically enroll learners.
Steps:
- Generate API Credentials:
- Log in to the LMS as an admin.
- Go to Admin > API Access Management and create a new API client.
- Use the Enrollment API:
- Send a POST request to the enrollment endpoint:
POST /api/enrollment/v1/enrollment - Example request body:
json { "user": "learner1@example.com", "course_id": "course-v1:org+course+run", "mode": "audit" }
- Handle Responses:
- The API will return a response indicating success or failure.
5. Enrollment via Third-Party Integrations
If you use third-party systems (e.g., CRM, SIS), you can integrate them with Open edX for automated enrollments.
Steps:
- Set Up LTI Integration:
- Use Learning Tools Interoperability (LTI) to integrate external systems.
- Configure the LTI provider to send enrollment data to Open edX.
- Use REST APIs:
- If the third-party system supports REST APIs, use the Open edX Enrollment API to sync enrollments.
6. Cohort-Based Enrollment
For courses with cohorts (groups of learners), you can assign learners to specific cohorts during enrollment.
Steps:
- Enable Cohorts:
- In Studio, go to the Settings tab and enable Cohorts.
- Create Cohorts:
- In the Instructor Dashboard, go to the Cohorts tab.
- Create cohorts (e.g., “Group A”, “Group B”).
- Assign Learners to Cohorts:
- Manually assign learners to cohorts or upload a CSV file with cohort assignments.
7. Enrollment Modes
Open edX supports different enrollment modes, which determine the level of access and certification.
- Audit:
- Free access to course content (no certificate).
- Verified:
- Paid access with identity verification (certificate provided).
- Professional:
- Paid access for professional education (certificate provided).
- No-ID Professional:
- Paid access without identity verification (certificate provided).
8. Managing Enrollments
Once learners are enrolled, you can manage their enrollments from the Instructor Dashboard:
- Unenroll Learners:
- Remove learners from the course if needed.
- Change Enrollment Modes:
- Upgrade or downgrade learners’ enrollment modes.
- Track Progress:
- Monitor learner progress and engagement using the Instructor Dashboard.
9. Best Practices for Enrollment
- Clear Instructions:
- Provide clear instructions for self-enrollment or manual enrollment.
- Automate Where Possible:
- Use bulk enrollment or APIs for large-scale enrollments.
- Monitor Enrollment Limits:
- Set enrollment limits if your course has capacity constraints.
- Communicate with Learners:
- Send welcome emails or announcements to enrolled learners.