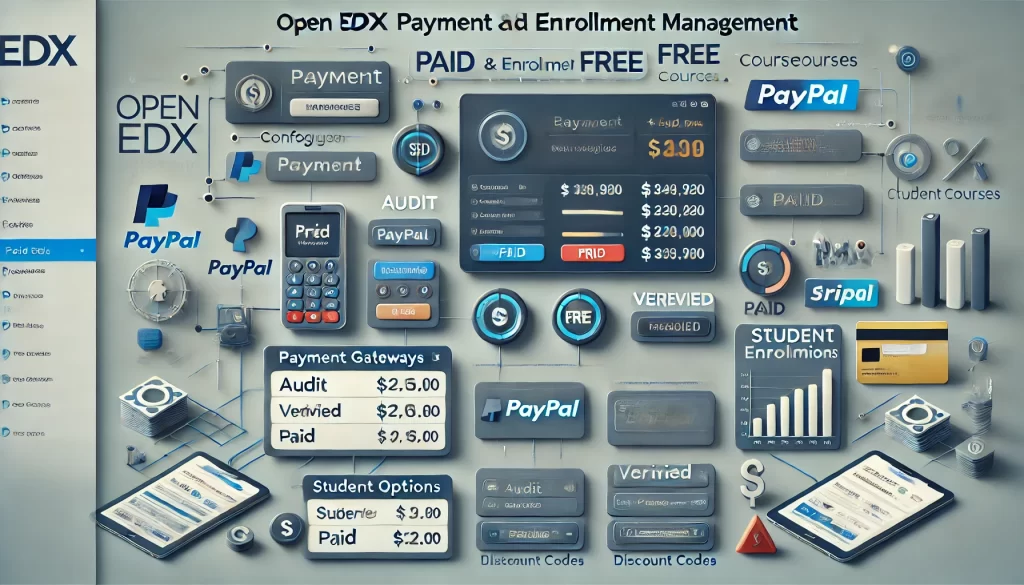
How to set up and manage payment and enrollment options in Open edX?
Setting up and managing payment and enrollment options in Open edX involves configuring the platform to handle course enrollments, payments, and integrations with payment gateways. Below is a step-by-step guide to help you set up and manage these options:
1. Configure Enrollment Modes
Open edX supports different enrollment modes (e.g., audit, verified, professional, etc.). You can configure these in the Django Admin panel or via the LMS.
Steps:
- Access Django Admin:
- Log in to your Open edX instance.
- Navigate to
{your-domain}/admin.
2. Set Up Course Modes:
- Go to Course Modes under the Courseware section.
- Add or edit course modes for your courses (e.g., audit, verified, professional).
3. Configure Pricing:
- For paid course modes (e.g., verified or professional), specify the price in the course mode settings.
2. Set Up Payment Gateways
Open edX supports integrations with payment gateways like PayPal, Stripe, and Cybersource. You need to configure the payment gateway in the ecommerce service.
Steps:
- Enable Ecommerce:
- Ensure the ecommerce service is enabled in your Open edX installation.
- If not, follow the Open edX documentation to set it up.
2. Configure Payment Gateway:
- Log in to the Django Admin panel.
- Navigate to Ecommerce > Payment Processors.
- Add your payment processor (e.g., PayPal, Stripe) and provide the required credentials (API keys, client IDs, etc.).
3. Test Payments:
- Use the sandbox/test environment of your payment gateway to ensure payments are processed correctly.
3. Manage Enrollment Options
You can manage how users enroll in courses, including free and paid enrollments.
Steps:
- Set Up Course Enrollment:
- In the LMS, go to the course dashboard.
- Configure enrollment settings for each course (e.g., open enrollment, invitation-only).
2. Enable Paid Enrollments:
- For paid courses, ensure the course mode is set to a paid option (e.g., verified or professional).
- Link the course to the ecommerce service to enable payment processing.
3. Offer Discounts or Coupons:
- Use the ecommerce service to create discount codes or coupons for specific courses.
- Configure expiration dates, usage limits, and discount amounts.
4. Configure Ecommerce Settings
The ecommerce service handles payment processing, order management, and receipts.
Steps:
- Access Ecommerce Dashboard:
- Log in to the ecommerce dashboard (
{your-domain}/ecommerce).
2. Manage Orders:
- View and manage orders, refunds, and payment statuses.
3. Configure Email Notifications:
- Set up email templates for order confirmations, receipts, and refund notifications.
5. Integrate with Third-Party Services
If you’re using third-party services for payment processing or enrollment management, ensure they are properly integrated.
Steps:
- API Integration:
- Use the Open edX API to integrate with external systems for enrollment and payment processing.
2. Single Sign-On (SSO):
- Configure SSO for seamless user authentication and enrollment.
6. Test and Monitor
After setting up payment and enrollment options, thoroughly test the system to ensure everything works as expected.
Steps:
- Test Enrollment Flows:
- Enroll in a course as a student to verify the process works smoothly.
2. Test Payment Processing:
- Make test payments to ensure the payment gateway is functioning correctly.
3. Monitor Transactions:
- Use the ecommerce dashboard to monitor transactions and troubleshoot any issues.
7. Update and Maintain
Regularly update your Open edX instance and payment gateway configurations to ensure compatibility and security.
Steps:
- Apply Updates:
- Keep your Open edX installation and ecommerce service up to date.
2. Review Security Settings:
- Ensure payment gateway credentials and API keys are secure.
3. Audit Logs:
- Regularly review logs for errors or suspicious activity.
Additional Resources
- Open edX Documentation: https://edx.readthedocs.io
- Ecommerce Service Setup Guide: https://github.com/openedx/ecommerce
- Payment Gateway Integration Guides (e.g., Stripe, PayPal)
By following these steps, you can effectively set up and manage payment and enrollment options in Open edX.