How to Set Up and Manage WordPress Website Redirects?

Are you experiencing a high bounce rate on your WordPress website? Do you want to redirect your users to a different page or website without losing their interest? If yes, then you need to set up and manage WordPress website redirects. In this article, we will discuss the steps to set up and manage website redirects on WordPress.
What is a Website Redirect?
A website redirect is a process of forwarding a user from one URL to another. This is useful when you have moved your website to a new domain or changed the URL structure of the website. Redirects help to maintain the SEO ranking of your website and prevent users from seeing a 404 error page.
Types of Website Redirects
There are different types of website redirects, including 301, 302, and 307 redirects. Here is a brief overview of each type of redirect:
301 Redirect
A 301 redirect is a permanent redirect that informs search engines that the original URL has moved permanently to a new URL. This type of redirect passes almost all of the link juice (SEO value) to the new URL.
302 Redirect
A 302 redirect is a temporary redirect that informs search engines that the original URL has moved temporarily to a new URL. This type of redirect does not pass any link juice to the new URL.
307 Redirect
A 307 redirect is a temporary redirect that informs search engines that the original URL has moved temporarily to a new URL. This type of redirect passes almost all of the link juice (SEO value) to the new URL.
To set up and manage WordPress website redirects, you can follow these steps:
To set up and manage WordPress website redirects, you can follow these steps:
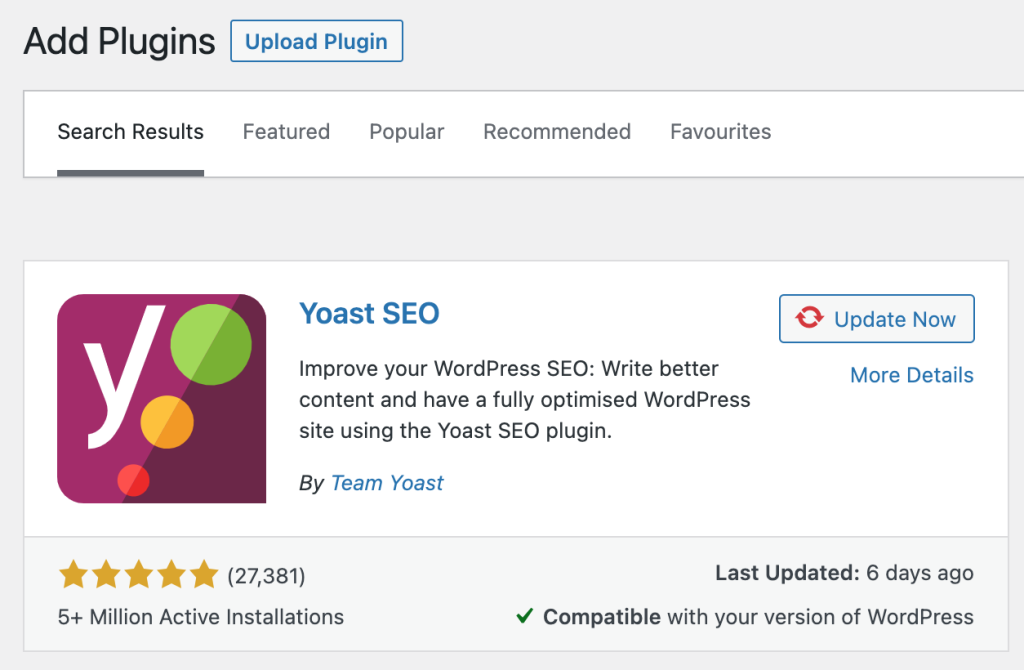
- Install a WordPress redirect plugin: There are several plugins available for handling redirects in WordPress, such as “Redirection,” “Simple 301 Redirects,” or “Yoast SEO.” Choose one that suits your needs and install it from the WordPress plugin directory.
- Activate the redirect plugin: After installation, go to your WordPress dashboard, navigate to the “Plugins” section, and activate the redirect plugin you installed.
- Create a redirect: Once activated, most redirect plugins provide a user-friendly interface to create redirects. Generally, you’ll need to specify the old URL (source) and the new URL (target) that you want to redirect visitors to. This can be done through the plugin’s settings or a dedicated redirect management section.
- Common redirect types: There are a few common types of redirects you might want to set up:
- 301 Redirect (permanent): It tells search engines and visitors that the requested page has permanently moved to a new URL.
- 302 Redirect (temporary): It indicates that the requested page has temporarily moved to a different URL.
- Wildcard Redirect: It redirects multiple URLs with similar patterns to a single destination URL. Useful when you want to redirect multiple pages at once.
- Test and manage redirects: After setting up redirects, it’s crucial to test them to ensure they work as intended. Try accessing the old URLs and make sure they redirect to the correct new URLs. Additionally, whenever you make changes to your site structure or modify URLs, review and update your redirects accordingly.
Remember, regular monitoring and managing of redirects are important as your website evolves. These steps should help you set up and manage WordPress website redirects effectively using a redirect plugin.